
Digging into the Details
With the street-legal process underway, it was time to dive into the mechanical side of the build. Our 2012 WR250F started as an impulse trade—swapping out two old bikes for what seemed like a solid machine at a local powersports dealer. It was meant to be a backup/buddy bike, so I didn’t stress too much about the details at first. But now that it’s seeing real trail time, the issues have started to surface, and it’s time to get serious.
Fastener Chaos & The Fix
One of the first things I noticed was that many of the bolts weren’t stock. A mix of metric Philips head machine screws, random hex bolts with mismatched head sizes, and washers taking the place of factory flange bolts made basic maintenance a pain. To make matters worse, a few bolts were outright missing. That’s where the 250-piece Specbolt Kit for Yamaha saved the day. This kit provided a full set of OEM-style fasteners, bringing everything back to spec and eliminating the need to dig through the parts bin every time I needed to wrench on the bike.
Suspension & Handling Issues
The next problem was fork seals leaking—an all-too-common issue on used bikes. Instead of messing around with DIY solutions, I pulled the forks and took them straight to Rich at Santa Cruz Suspension for a proper rebuild. A fresh set of seals, new fluid, and an overall checkup ensured that the front end was dialed in.
Front Brake Overhaul
On a recent ride, an issue with the front brake first showed itself when it faded out completely. With no braking power, we had to cut the ride short and investigate. Upon inspection, we found the banjo bolt was loose, and the master cylinder was empty—clear signs of a leak.
To fix the issue, we backed out the banjo bolt, replaced the squash washers, and torqued it down properly with our Kobalt digital torque wrench. After topping off the master cylinder, we flushed the system to remove any old fluid. Once the fluid coming out looked fresh and clean, we bled the system a couple more times to eliminate any air bubbles. Testing the front brake afterward showed no leaks and no squishy feel—the brake was back to working as expected.
Replacing Worn-Out Controls
In previous posts, I neglected to mention that the clutch and brake levers were mismatched and creatively bent. So, the next step was to replace them with Tusk Folding Levers. Installation went smoothly, and after some minor adjustments to the lever angle and handguards, the controls were finally dialed in.
Hidden Damage & Fixes
Upon further inspection, it became clear that this bike had been through a major impact at some point. The left radiator was twisted, and the bracket for the trip computer/speedometer was badly bent. That explained some of the minor cosmetic damage I originally overlooked. Rather than trying to bend things back into shape, I opted to replace the damaged parts outright. New GPI radiators and an OEM computer/meter bracket were ordered to get everything straightened out properly.
Cooling System Overhaul
Pulling the old radiators off was easy—loosen a couple of hose clamps, disconnect the hoses, remove some bolts, and out they came. The original plan was to replace all the hoses with blue silicone hoses, but the kit we had contained hoses that were all an inch or two longer than stock. Not a dealbreaker—we just cut them to size. However, installing them was another story. The internal diameter was slightly smaller than stock, making for an incredibly tight fit. After too much time struggling with installation techniques, we decided to scrap the idea—especially since we wanted to go riding in two days. The original hoses were reinstalled, and the new radiators were bolted on. We left them slightly loose to check clearance with the larger fuel tank—no issues there, so everything was tightened up. We were initially concerned because the core on the GPI radiators is notably thicker. After rechecking the tank fit, we filled up the cooling system, installed the cap, fired the bike up, and let it get hot. No leaks—one more thing checked off the list.
 Twisted Radiator


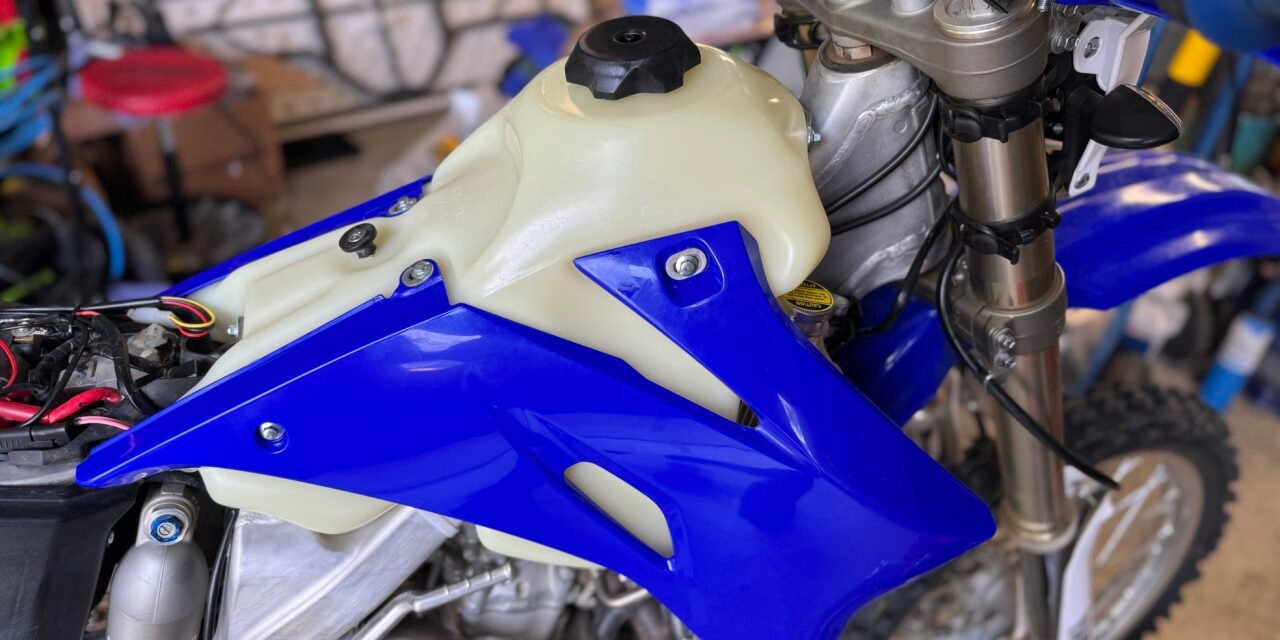
Upgrading the Fuel Tank
Once the radiators were installed and tested, the stock louvers were reinstalled and fit perfectly. Next up was the IMS 3.1-gallon fuel tank. We transferred the petcock and mounting bracket from the stock tank to the new one, then installed a new upper mounting bracket on the bike. Everything was left loose initially for fitment checks. Once everything was aligned properly, we tightened it all up.
Installing the new YZ-style shrouds, required for the IMS tank, was straightforward—just a couple of tight spots to work through. For now, we’re sticking with the stock seat, which created an unexpected challenge. The seat wouldn’t slide far enough forward to bolt on properly. After some trial and error, we made a few modifications:
- Extended the slot on the bottom of the seat where it slides into the tank bracket.
- Slightly elongated the holes in the rear brackets on the seat.
- Installed two large washers under the tank seat bracket to raise it slightly.
After these adjustments, we were finally able to secure the seat properly.
 Slotted Seat Mount


Routine Maintenance & Future Plans
After sorting out the major concerns, I ran through a full maintenance checklist:
- Oil & Filter Change – Fresh oil always brings peace of mind.
- Brake System Overhaul – Both brake master cylinders will be rebuilt, and new brake pads will be installed soon.
- Coolant Flush & System Check – With the new radiators installed, I flushed the coolant and ensured proper flow.
- Chain & Sprocket Inspection – Everything looks solid for now, but I’ll be replacing these components down the road.
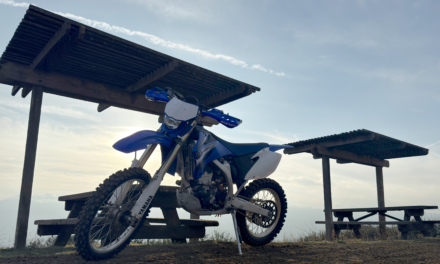
With the bike now in much better shape, it’s time to shift the focus back to the street-legal conversion. The Tusk Enduro Lighting Kit and Polysport HALO LED headlight from Rocky Mountain ATV/MC are ready for install in Part 3.
Stay tuned as we keep transforming this WR250F into a fully capable dual-sport machine!


